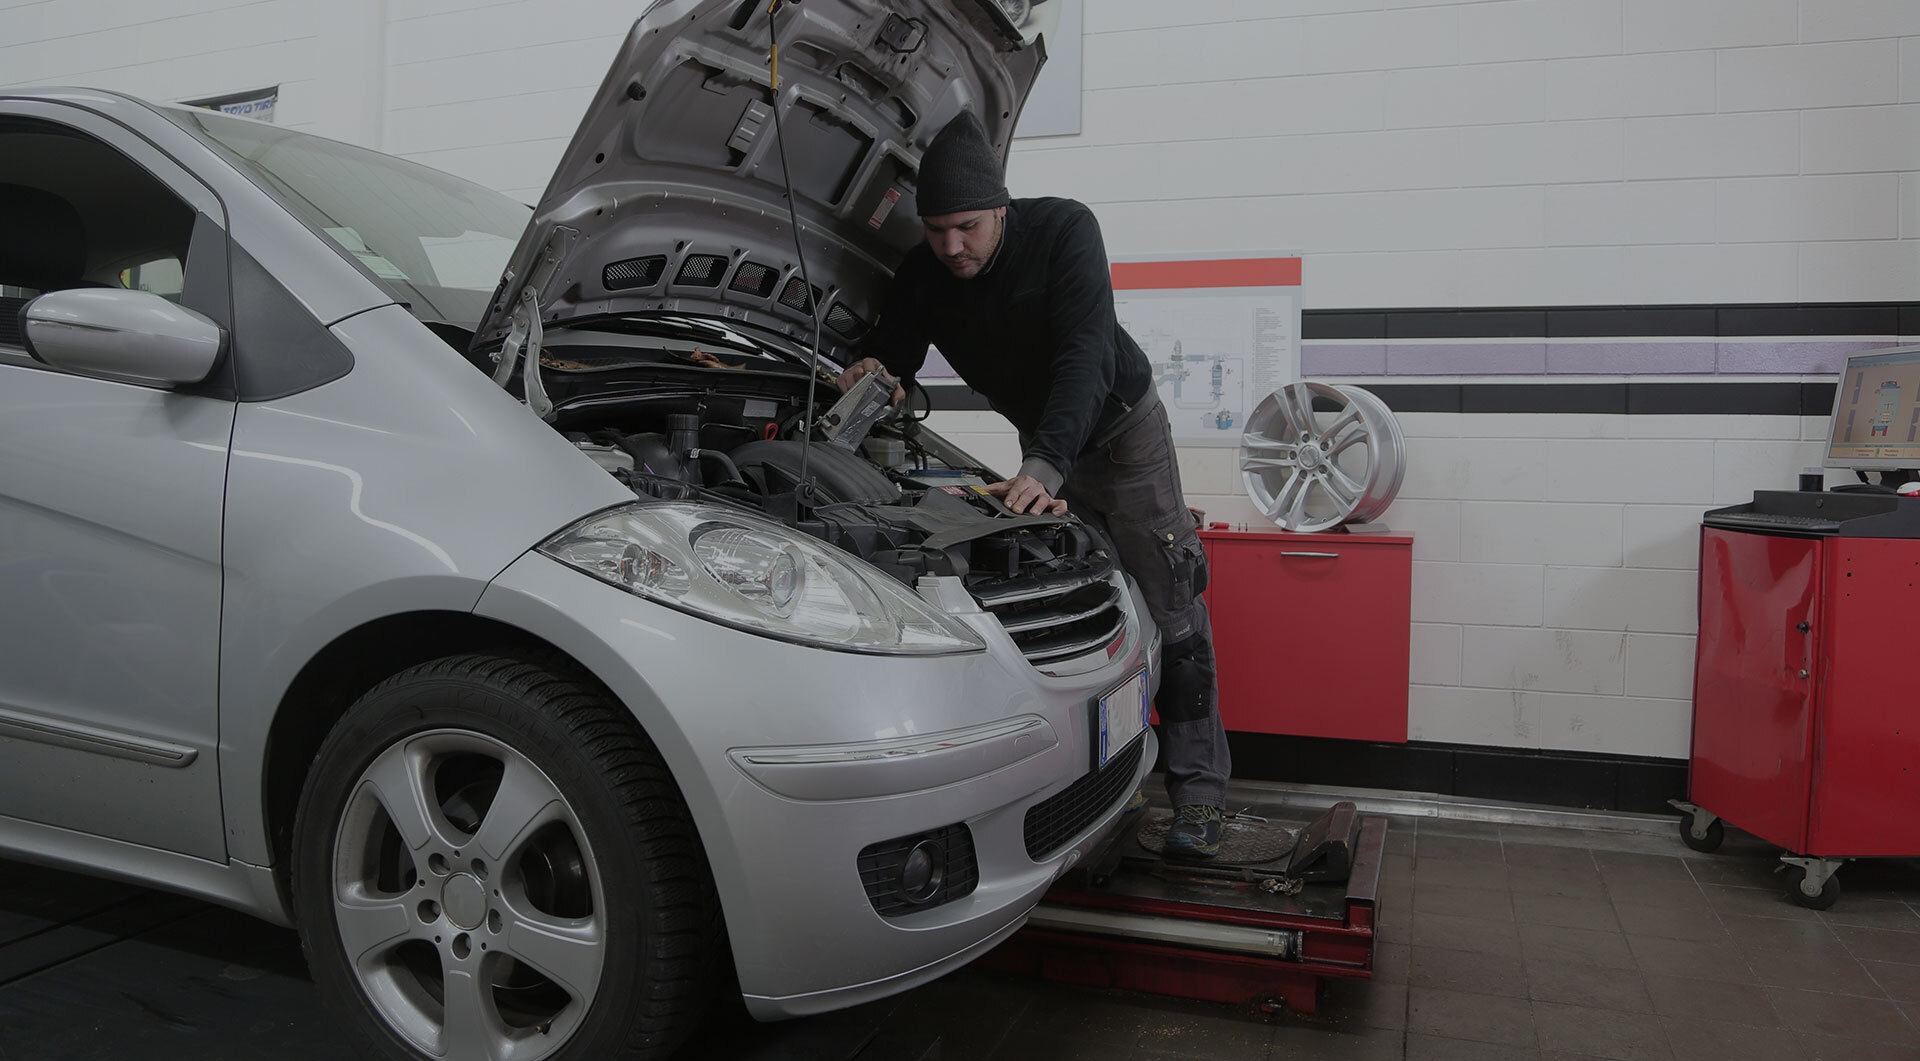
How to tell if your vehicle has an antifreeze leak?

Here are the warning signs, and how to locate the leak.

If you’ve noticed an odd, sweet smell coming from your car after you shut the engine off you might have an antifreeze leak. Antifreeze plays a key part in keeping your engine running properly, so it’s important to know if it’s leaking.

If your vehicle is leaking antifreeze, the problem needs to be repaired promptly, before it causes much bigger, more costly issues.

Despite its name, antifreeze does more than just keep your vehicle’s radiator from freezing up in winter. It’s part of your vehicle’s cooling system, which controls the engine’s temperature so that it runs properly and doesn’t overheat.

Your engine’s radiator is actually filled with what’s called coolant, a 50-50 mix of antifreeze and water. A pump on the engine circulates the coolant through the radiator, engine, and heater and keeps your engine running at the proper temperature—and not overheating—regardless of the outside temperature. If an engine is low on coolant, it can run too hot, which will hurt both performance and fuel economy. Worse yet, your engine can overheat, sustaining expensive and possibly terminal damage.

If your vehicle is losing coolant, you need to determine where it’s leaking from and how fast it’s leaking—and then fix it or get it fixed. The engine’s cooling system is complex and has many parts. A coolant leak could be as cheap and simple to repair as tightening a loose clamp on one of the system’s several hoses—something you can do yourself. Or it can be as complicated and expensive to repair as replacing a broken water pump. A major problem like that will require the skills of a technician to diagnose it and a shop full of tools to repair it.

Clues You Have an Antifreeze Leak

  • A sweet aroma that you notice from outside the vehicle, coming from the vehicle after you’ve driven it. You might be able to smell it from behind the wheel as well.
  • Puddles under the car of lime-green, orange, pink, or blue-green after you’ve parked. Antifreeze makers use those dye colors to differentiate coolant from other fluids used in cars. Engine oil is gold or black (when dirty), and transmission fluid is dark red.
  • The car starts running hot or overheating.

How to Locate a Leak

  • To find a leak, first drive the car until it’s fully warmed up, then park it on a clean, dry section of pavement—a driveway if possible.
  • Shut it off and let it cool down. Caution: When the vehicle is fully warmed up, the coolant is boiling hot and under pressure. Do not remove the recovery-tank cap or radiator cap before the engine has adequately cooled. They are located under the hood. The illustration below shows the location of the caps for the radiator and the translucent plastic recovery tank. Most recovery tank caps are marked with a symbol similar to the one shown. Some cars do not have a radiator cap.
  • After the car sits for 15 minutes, look under it for a fresh puddle of antifreeze-colored fluid. If there is no puddle but you smell the sweet aroma of antifreeze, kneel down and scan the vehicle’s underside and see if you can see anything that’s wet or covered in droplets. Note: air conditioning systems often form condensation that can leak on to the ground, but what’s dripping from them is pure, clear water.
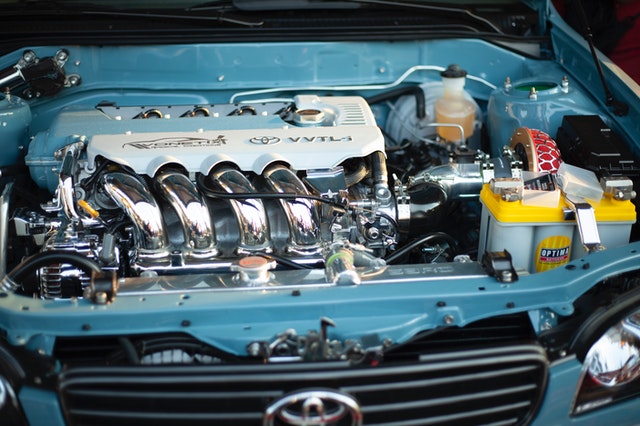
  • If a small puddle or stain of coolant forms under the car near the front of the vehicle lift the hood and start looking in the engine bay. It’s also a good time to literally sniff around to see if you can tell where the antifreeze smell might be coming from.
  • Look for signs of coolant leakage—a light-colored residue or stain—around the radiator cap, on hoses throughout the engine compartment (check the ends where they are clamped to other components) and on the radiator itself. If it looks like a hose is leaking near a clamp, try tightening the clamp with a screwdriver. If you don’t see any obvious signs of leakage, scan the entire engine compartment; the leak could be coming from somewhere else under the hood.
  • If the smell is stronger inside your vehicle than outside of it, the problem could be inside the heater. Heaters utilize a small radiator-like “core” to heat the cabin air. If the carpet is damp or the windows seem to fog up easily, the heater core could be leaking. Heater-core leaks are hard to locate and even harder to fix because the heater is part of the air conditioning system, which is buried behind the instrument panel. If that’s the case, unless you’re great with wrenches see a technician.

If You Can’t Locate the Leak

Not finding the leak doesn’t mean you don’t have one. After the engine fully cools down, check your vehicle’s coolant level by observing how much fluid is in your vehicle’s coolant recovery tank. The coolant-level indicator is on the side of the translucent plastic tank. Most tanks have clear minimum and maximum markings. The coolant level should be between the “min” and “max” markings. If the tank is full, what you are smelling is probably not an antifreeze leak. If the tank’s level is below the minimum mark or it’s dry, you’ve likely got a problem and it is time to consult an expert technician. They can use a cooling-system pressure tester to detect the source of the leak.

Driving With an Antifreeze Leak

How long can you drive with an antifreeze leak? We recommend getting it fixed as soon as possible. Cooling system problems don’t get better by themselves and can deteriorate fast. You don’t want to be stranded by the side of the road because you ignored the early signs of an antifreeze leak.

If you’re the kind that pushes their luck and you have a minor (slow) coolant leak and it’s summer, you can likely drive for a few days by topping off the cooling system with water whenever it gets low. It’s always best, however, to refill a cooling system with the proper mix of antifreeze and water in a 50-50 ratio, especially in winter. Plain water sitting in an engine on a freezing winter night turns to ice and expands. That expansion could easily burst the radiator, split cooling system hoses, and even crack the engine block or a cylinder head—which would destroy your engine. Antifreeze lowers the freezing point of the coolant to somewhere around minus 35 degrees F to keep any damage from happening. Again, it’s far better to get your car looked at as soon as possible to prevent more serious and expensive engine damage.

Lastly, different cars require different types of antifreeze. There are three main types of antifreeze: older-style ethylene glycol (green dye); propylene glycol (orange or yellow dye); and the newest hybrid organic acid technology (yellow, green, pink, blue, violet, or orange). The different types can’t be mixed. Refer to your owner’s manual or consult the dealer for the correct replacement type.

Resources: www.caranddriver.com

Fuel Gauge and how it works

The Drive and its partners may earn a commission if you purchase a product through one of our links..

Fuel gauges are fairly simple mechanisms. They point to “E” when the tank is nearly empty and “F” when it’s full. At least, until it doesn’t. Then you’re left in the dark, guessing how many miles you can squeeze from the last remaining droplet of fuel before the car sputters to a halt along the side of the road.

What people might not know is why and how that gauge goes up or down. It’s not a direct mechanical connection, it uses electricity to make it work. This setup can create some confusion as to what exactly is wrong when the fuel gauge starts malfunctioning.

Still, with a little patience and a multimeter, the home mechanic can diagnose the problem at home with a little elbow grease and understanding of the wiring. The Drive’s editors want to equip you with the knowledge you need to get the job done so you don’t waste money paying the pros.

Find your inner DIY spirit, and let’s get to it.

What Is a Fuel Gauge?

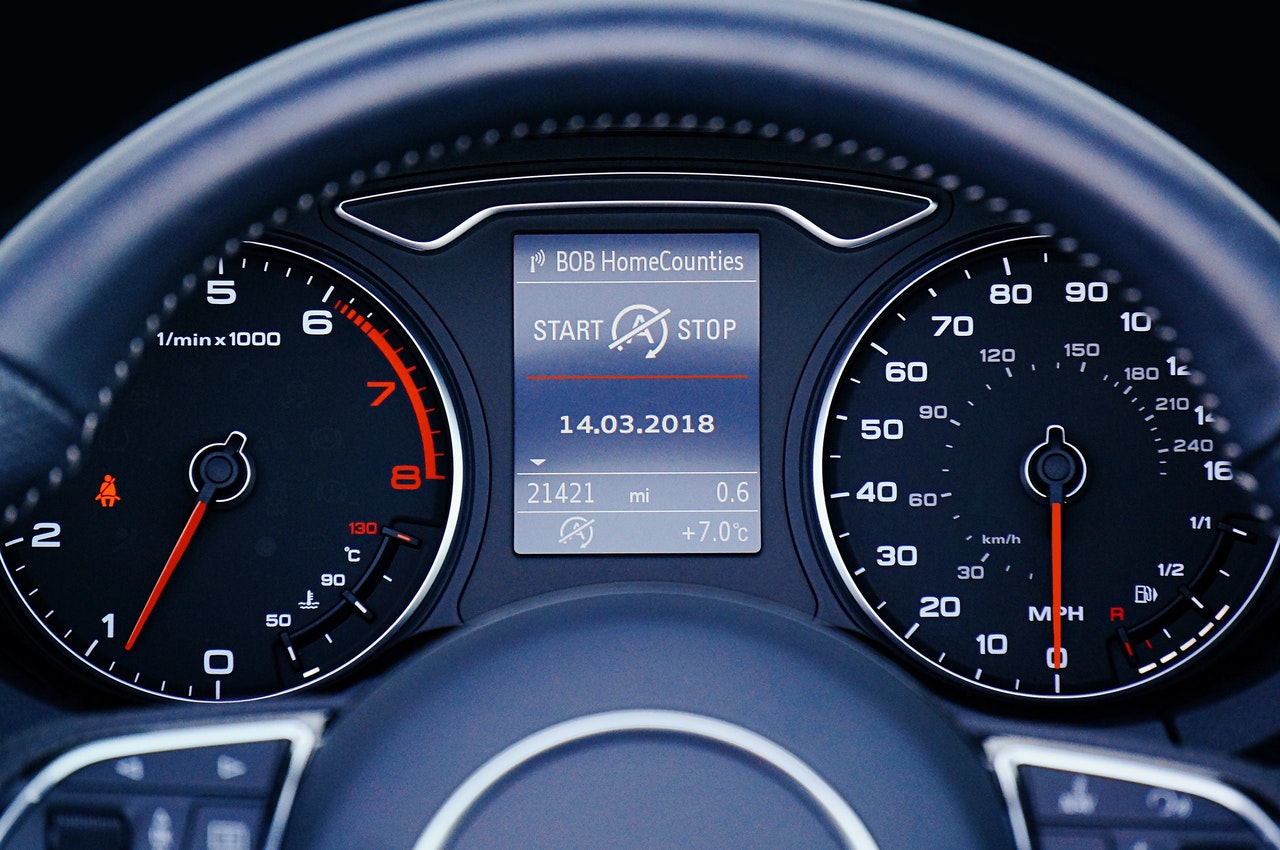
A car’s fuel gauge, whether digital or analog, informs the driver how much fuel is left in the tank.

How Does a Fuel Gauge work?

The fuel gauge displays the information that is conveyed from the fuel sending unit, which is attached to/on/in the fuel tank. Based on that information, an analog gauge will move a needle up and down across a dial or a digital gauge will display a set number of bars that show how much fuel is left. When the tank switches to its reserves, it will prompt a fuel light to display.

How Does a Fuel Sending Unit Work?

The fuel sending unit has a float arm that sits in the liquid gas. When that arm moves up and down, it changes the resistance to ground on a variable resistor. That resistance is then translated and sent through the car’s wiring and electronics to determine where the needle or digital gauge is positioned. When the tank is full, it registers a high resistance, and when it’s low, it registers a low resistance.

Symptoms of a Malfunctioning Fuel Gauge

If you notice these symptoms, you might have issues.

·Inconsistent Readings

·Reads Low When Tank Is Full

·Reads Full When Tank Is Empty

·False low fuel light

What Causes Fuel Gauges and Fuel Gauge Sending Units To Fail?

·Blown fuse

·Broken gauge

·Disconnected wires

·Damaged wires

·False grounds

·Failed or broken fuel gauge sending unit

·Stuck fuel gauge sending lever

Resolving the Problem

Use the process of elimination through testing to determine what your problem is.

The Basics of Diagnosing a Malfunctioning Fuel Gauge

Estimated Time Needed: Could be hours, depending on the location of and access to the fuel gauge sending unit.

Skill Level: Beginner

Vehicle System: Fuel

Safety Considerations

You’ll be underneath the hood, testing electrical wiring,  and dealing with gasoline for this job. Make sure you prepare the proper safety equipment and precautions to ensure you leave the garage in one uninjured piece.

·Mechanic gloves

·Safety glasses

Tools You’ll Need To Diagnose a Malfunctioning Fuel Gauge

·Multimeter

·Screwdriver set, if necessary

·Socket set, if necessary

·Trim removal tools, if necessary

Organizing your tools and gear so everything is easily reachable will save precious minutes waiting for your handy-dandy child or four-legged helper to bring you the sandpaper or blowtorch. (You won’t need a blowtorch for this job. You’re dealing with fuel and fire is bad when you add fuel. Please don’t have your kid hand you a blowtorch—Ed.)

You’ll also need a flat workspace, such as a garage floor, driveway, or street parking. Check your local laws to make sure you’re not violating any codes when using the street because we aren’t getting your ride out of the clink.

Now, let’s get to the step-by-step process of locating your problem.

Check the Fuse

Find the fuse for your fuel gauge and check its health. If it’s blown, replace it, and you might be in the clear. If your fuse is fine, or you’re still having problems after replacing it, you have a different issue.

Run Your Car’s Self-Test

Most modern cars built beyond the early 1990s have built-in testing procedures. They are typically activated using some combination of the light switch, the trip button, and other dashboard buttons. Check your owner’s manual for the specific code. If you run the check, and the needle circulates through its up and down motions, then the gauge is okay, and you have a problem elsewhere.

Test a Fuel Gauge Sending Unit

Learn how to use a multimeter to test your fuel gauge sending unit in the next section. These are general steps that might not apply exactly to your car, but it details the general process.

1.Check your owner’s manual to figure out how to access the fuel tank and fuel gauge sending unit.

2.Remove the necessary panels and parts for access.

3.Check the ground wiring for any physical issues.

4.Read your service manual to determine the voltage standards and schematics for the fuel sending unit wiring or connector, depending on whether or not the unit is built into the fuel pump or outside of it.

5.With the ignition to “on,” use a multimeter to check the voltage of the wiring and/or the connector that provides power to the sending unit. If the readings are incorrect, follow the circuit back and test until you find the issue.

6.The next step is to check for voltage drop. If you plug the connector back and test again, the fuel gauge sending unit should create resistance. If the voltage drops, the fuel gauge sending unit is creating the resistance it should.

7.If there is no resistance, you might need to remove the fuel sending unit to inspect and test further.

8.Once you have the unit out, set your multimeter to ohms.

9.Check your owner’s manual or service manual to determine the ohms range in which the fuel sending unit operates. If the range, for example, is 0-70, it will read 0 ohms when the tank is empty and 70 ohms when the tank is full, or vice versa. With the unit out of the vehicle, you can further check to see if it’s a problem with the float, the resistor, or something else.

Resource: www.thedrive.com

What makes the exhaust of your car environmentally friendly? Catalytic characterization

The cat sits around a third of the way down the exhaust system and resembles a small metal chamber that receives exhaust gasses and changes its chemical nature to reduce the volume of nasty emissions fresh from the exhaust manifold. Within the cat, housing is a ceramic-based honeycomb structure that is lined with extremely precious metals, with each metal having a specific job in emission-reduction.

There are three main emissions produced by car engines: nitrogen gas (N2), carbon dioxide (CO2), and water vapor (H2O). The catalytic converter however is mostly used to tackle the smaller, more harmful products that are produced due to the naturally imperfect combustion process of the IC engine. These are carbon monoxide, hydrocarbons, and nitrogen oxides. Most cats these days are therefore called three-way catalytic converters due to the three main types of emission that they manage to tackle.

A catalyst is a substance that accelerates a chemical reaction, and within a catalytic converter, there are two types of catalyst. The first is a reduction catalyst that uses platinum and rhodium within the honeycomb to reduce NOx emissions. NOx is produced by nitrogen oxide and nitrogen dioxide within the exhaust gasses. The nitrogen gasses come into contact with the catalyst metals which rip the nitrogen atoms out of the molecules which in turn releases cleaner oxygen to continue down the exhaust system.

The second catalyst type is an oxidization catalyst which uses Platinum and Palladium to complete the job. These catalysts oxidize or burn the carbon monoxide and hydrocarbons lingering within the incoming gas, helping reduce the amount of smog produced by evaporated, unburnt fuel.

The honeycomb mesh maximizes the surface area for the exhaust gases to interact with

The final stage of emission control comes in the shape of an O2 sensor found just upstream from the cat. The sensor relays back to the ECU how much oxygen is found within the exhaust gasses, with the onboard computer then able to adjust the air/fuel ratio to allow the engine to run as close to the Stoichiometric point as possible.

This is the point at which – theoretically – all of the fuel entering the combustion chamber will use all of the oxygen provided to complete the combustion process. Not only does this last stage help the engine’s overall efficiency, but it also allows the engine to provide the cat with enough oxygen to effectively complete the oxidization process with the second catalyst.

So what is a sports cat?

A sports cat manages to do everything a standard cat can do but in a much more sleek, efficient package. The honeycomb construction within a standard cat is designed to maximize the surface area of the catalysts while keeping their overall volumes low due to the sheer expense of the precious metals used.

Unfortunately, the honeycomb can be seen as an obstruction for the exhaust gasses which need to exit to the surroundings as quickly and as efficiently as possible. A catalytic converter, therefore, slows the exhaust gasses down, making the engine work harder as it struggles to breathe out the exhaust gasses at the end of each engine cycle. The honeycomb structure within a catalytic converter is also capable of falling apart from overheating, thus creating a further blockage for the exhaust gases to build up against.

The honeycomb structure within has disintegrated due to extremely high temperatures created by unburnt fuel

The main aim for an exhaust system is to get the exhaust gasses away from the engine smoothly and swiftly, with restrictions and expansions like a large catalytic converter only causing turbulence and therefore disturbed, slower airflow. Sports cats do their best to solve this issue by decreasing the chamber size and creating a much smoother surface within the chamber to allow for the gasses to flow quicker and easier through it.

To keep emissions down, the ceramic matrix within the honeycomb construction is much finer than in a normal cat, thus making sure that the catalysts can effectively convert the relevant nasties to where they need to be to meet emission rules. Small power increases can be achieved by switching to a sports cat, with the engine cycle being freed up to maximize its efficiency.

Is a decat a viable option?

Here you can see a catalytic converter has been completely replaced by a straight ‘decat pipe’

The straight answer in most cases is no. Many petrol heads out there decide that the catalytic converter is producing a severe blockage within the exhaust system that needs to be eradicated and therefore delete the cat from the system altogether, replacing it with a straight pipe. Although this will ramp up the volume of your powertrain and potentially eke out a few more horses from your engine, in most countries, driving a car without a catalytic converter is deemed illegal.

Cat stripping is also another form of decatting, which is the process of removing the honeycomb innards of the cat to simply reduce the amount of restriction inflicted on the exhaust gases.

Decatting will inevitably increase the volume of your exhaust system but will yield very little power increase.

Most people who go down the route of a full cat delete decide to chance it and simply have a cat waiting to put back in place for when MOT time comes around. But get caught by a keen police officer with a flashlight and it could be game over. And considering the horsepower gain could potentially be counted on one hand depending on the size of the engine, a sports cat seems to like the much more viable option if you feel like the stock cat on your car is holding your powertrain back.

The aftermath of a ‘DIY’ car stripping

The impact of decatting will be amplified in a turbocharged car, however, as the removal of a pre catalytic converter would allow an increase in the flow of exhaust gasses into the turbocharger. Catalytic converters work best when at high temperatures, so a percent is a smaller version found higher up the exhaust system to help break down emissions at start-up when the engine is running very rich.

In a turbo exhaust system, the precast generally sits just upstream from the turbocharger, therefore a removal would derestrict that area of the exhaust. But yet again, that would be deemed as tampering with a standard exhaust system’s emission controls and would be considered illegal in most countries.

Resources: www.carthrottle.com

Why It’s Important to Wash Your Car

There are some people out there who never wash their car, and that’s okay. Well, it is not okay because washing your car is extremely important. Beyond basic pride in ownership, here are a few valid reasons to break out the clothes and suds and get to work on your favorite vehicle.

Preserve the beauty of your vehicle

You may take the condition of the paint on your vehicle for granted; however, it needs care and upkeep just like any other part of a car or truck. Vehicles stay nice and shiny because of the many layers of paint and then clear coats on the exterior. You’ll often see older cars driving around with the clear coat peeling off, which is very unsightly. Dirt dulls the exterior finish and wears it off over time. Preserving the paint and clear coat is one good reason to wash your car regularly.

Road grit, bird droppings, and residue from rain can all damage the surface of your vehicle. Bird droppings eat away at the finish, and so do bugs because they emit amino acids as they decompose. Neither is anything you want hanging around on your car’s exterior.

Protect against the ravages of winter

If you live in a Northern climate, you know that highway departments dump loads of salt on the roads to melt the snow in the winter. As you drive, salt gets thrown up underneath the car and on the sides around the wheel wells. This is a perfect opportunity for rust to get a foothold and start eating away at your precious mode of transportation.

Regular car washes – yes, even in those cold temperatures – are a must during winter. Be sure to get up underneath the chassis and spray up and under the wheel wells to clear away any salt or winter debris that may be trapped up there. Also, remember not to wash your car in 

temperatures below freezing or the water will freeze and you won’t be able to get your doors open.

A clean car is a safe car

Safe driving is all about visibility. If you can’t see, you can’t drive properly. Clear windows are an important part of 360-degree visibility in your vehicle. Even if the middle of the windshield is cleared by the windshield wipers, that’s not enough for safe driving. All windows, including the windshield, side, and rear windows, need to be completely clear of dirt and debris. Washing your car completely regularly keeps dirt from building up and causing visibility problems.

Another way washing the car helps with safety is that it allows you to go over the car with a fine-tooth comb. While you’re scrubbing, you can check for loose wires, bulbs, license plate holders, and even peek under the hood to look for problems. Think of a car wash as an opportunity to get to know your vehicle a little bit better and check for safety issues.

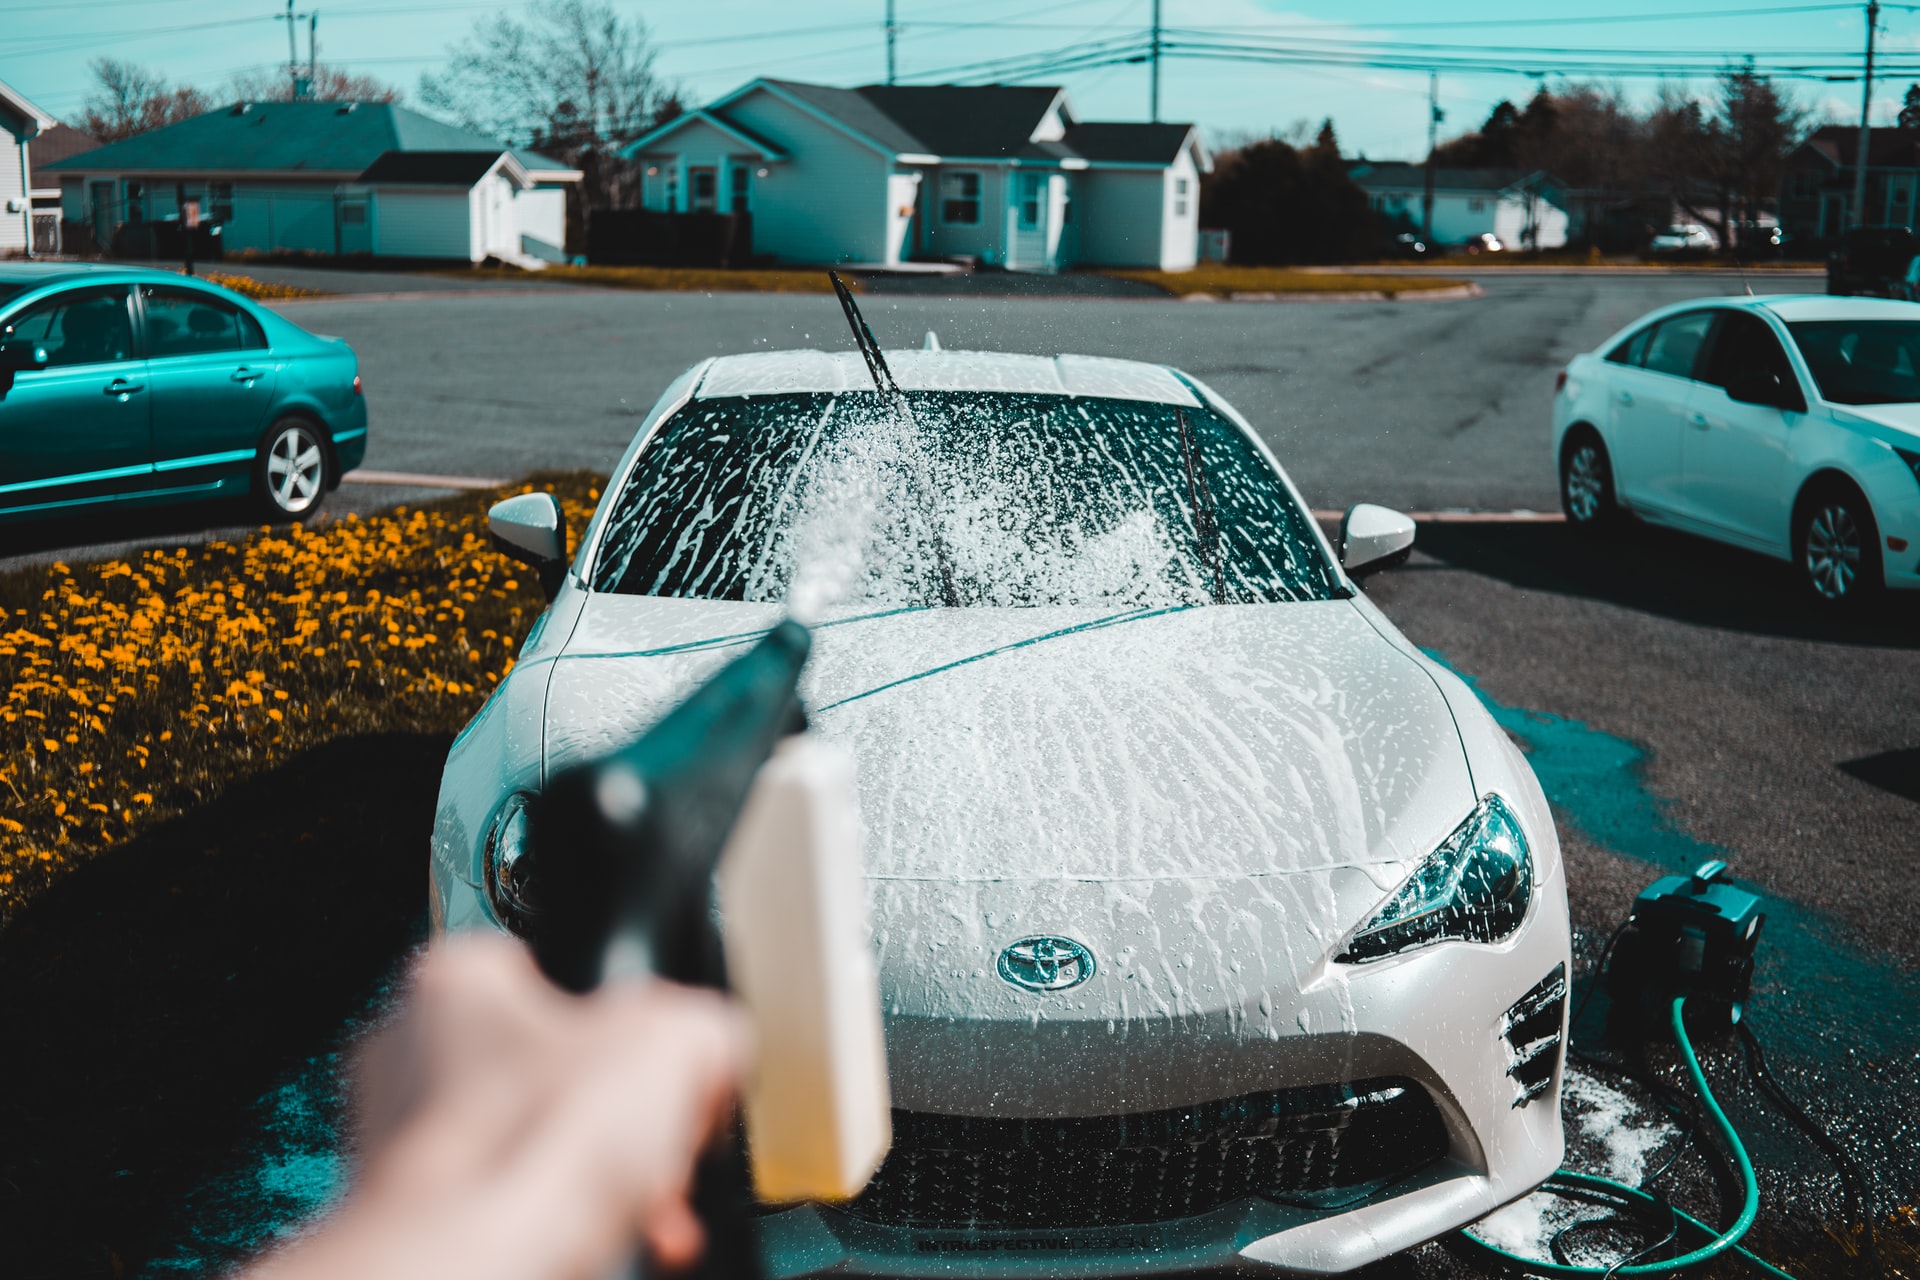
It is recommended that you wash your car with a hose in your driveway or a bay at a car wash. Generally, it isn’t a great idea to take a nice car through a mechanized car wash mainly because there could be small particles in the recycled water that could cause microscopic damage to the clear coat.

Car wash brushes can be harsh on a vehicle’s finish and don’t get to all the nooks and crannies of your car or truck. Make breaking out the soft cloths and buckets part of your regular maintenance routine, and you’ll benefit from more years of safe driving.

Resources:motorbiscuit.com

The Importance of Regular Car Computer Scanning

Modern cars utilize state-of-the-art technologies and devices. They also feature the traditional mechanical and engine parts and components. Today’s cars use information from the computer to identify problems. For instance, the warning light, brake light, or engine light lights up when the computer detects a problem. This is why car computer scanning is gaining importance.

This alerts the driver and makes it easier to figure out what/where the problem is. Hence, maintaining the computer of your car is important for all owners. Either you can opt for professional computer car scanning or pay for a diagnostic tool. These tools come with helpful software and instruction booklets.

For best results, you should visit a professional. Their experience and expertise enable them to clearly understand the different codes. This makes it easier to identify problems. The mechanic can then deal with the problem before it exacerbates. Read on to understand the importance of regular car computer scanning:

Peace of Mind for Car Owners

With regular car computer scanning, you can rest assured all problems will be taken care of. Your mechanic will use a diagnostics tool to check for problems in the powertrain control module (PCM). If any problem codes show up, the mechanic will interpret them and detect the major/minor malfunction. This means your car will be back to perfect order in no time.

Optimal Vehicle Operation

Expert mechanics use scanning tools that feature a module with a screen. Once they plug in the unit, they can assess the mechanical condition of the components, accessories, and vital engine parts of your car. With regular professional car computer scanning, you can nip any problems your car faces in the bud. Thus, your car will undergo repair immediately, before the problem worsens and leads to an even bigger problem for you.

Car Computer Scanning Fixes Electronic Systems

Car computer scanning goes beyond detecting issues with your car’s mechanics. It will also detect inefficiencies and irregularities with the electronics, which include the lighting systems, audio systems, air conditioning systems, and even the ignition. Moreover, computer scanning detects problems and alerts drivers of problems before they become serious. The scan will pinpoint the root cause of a potential issue in the electronics of your automobile.

Regular car computer scanning will ensure your car remains good as new. Ensuring long-term performance is the key to getting the best bang for your buck.

Resource: extracareauto.com

Car Maintenance Checklist

A SCHEDULE OF PREVENTATIVE TASKS

To maximize the life and performance of your vehicle, here is a list of items you should check depending on the time and season. Some of these parts of your vehicle should be checked regularly, and others only in the long run. Be sure to follow your car’s maintenance schedule and service interval record.

Caring for your car and keeping it in proper running order takes a little bit of effort, but you don’t have to be a mechanical whiz to keep your vehicle running well. The biggest hurdle is being aware of what needs to be done—and how often—for optimal vehicle upkeep. By knowing the basics about what your car needs, and when you should perform routine car maintenance, you’ll ensure that your car is in top-running condition.

As a bonus, if you can prove that your vehicle has been well maintained, you’ll be able to ask top dollar when it’s time to resell it. And, of course, it’s important to remember that car maintenance costs, while not always cheap, can ultimately help you avoid expensive repairs down the road.

To make it easy to keep track of your car maintenance schedule, we’ve created a simple, downloadable car maintenance checklist to help you keep on top of your automotive maintenance.

SHORT TERM CHECK-UPS

For proper vehicle maintenance, inspect the following:

OIL AND COOLANT LEVELS

Every month, or every few gas fill-ups and especially before any long road trips, it’s a good idea to get under the hood of your car and inspect both the oil and coolant levels while the engine is cool. Low levels of either can lead to engine problems if left unchecked. Refer to your owner’s manual to locate both on your specific vehicle.

AIR FILTER

Your engine’s air filter is what regulates the air that flows into your engine and helps keep out debris and particulate. By making certain that your air filter is flowing properly, you can improve your fuel efficiency, decrease your emissions, and help ensure the life of your engine. This can be done easily at home, so check your owner’s manual for instructions and how often it needs to be changed.

TIRE PRESSURE AND TREAD DEPTH

Since well-maintained tires are integral to a safe, fuel-efficient ride, make it a habit to visually inspect your tires often. Check the pressure in your tires every month, and before long trips or carrying extra load.  Don’t forget the spare.  A tire pressure gauge will be needed to check your tire pressure. Also, during the colder months, note that tire pressure drops one pound with every 10 degrees decrease in pressure. Your owner’s manual will tell you how much air pressure your tire needs. You can check your tread depth using the simple penny method.

HEADLIGHTS, TURN SIGNALS, BRAKE, AND PARKING LIGHTS

The lights on your vehicle must be properly functioning, but oftentimes it can be an easy item to overlook. Once a month, turn on your headlights when you’re parked in front of a flat surface and check that both headlights are working properly and well-positioned. Walk around your car and visually inspect both turn signals and your parking lights. Have a friend stand behind the car while you engage the brakes to be certain that your brake lights are functional.

OIL & FILTER

The motor oil in your vehicle’s engine serves a whole slew of functions: it lubricates the moving parts, helps act as a sealant against debris, cools the engine, reduces wear and tear, and helps prevent engine corrosion. Keeping it clean is vital for good engine health. Depending on your car and what kind of oil you’re using, you may need to change both the oil & oil filter as much as every 3 months or 3000 miles. Many newer vehicles’ owners’ manuals will recommend changing your oil less frequently – often in between 5,000 and 10,000 miles. Check your vehicle owner’s manual and consult with a professional to be certain what is appropriate for your vehicle.

ROTATE TIRES

Depending on your vehicle alignment, usage, and many other factors, the tread wear patterns on your tires may vary between the front and back tires, or even from one side of the tread to the other. Rotating your tires will help to extend the service life of your tires by more evenly balancing the tread wear, and helping prevent noise and vibration problems.

WAX VEHICLE

Making certain to wax your vehicle every six months after washing it won’t just keep it shiny, it’ll also help to keep both the paint in good shape and reduce the chance of rust. Many irritants such as dust, sand, and salt can build up and environmental factors like ozone and ultraviolet light can cause microscopic damage, but waxing can help minimize this by forming a protective seal to extend your paint’s life.

LONG TERM CHECK-UPS

TRANSMISSION FLUID

Much like the oil in your engine, transmission fluid is a lubricant that helps keep all of the moving parts inside of your transmission functioning properly. Whether you’re driving an automatic or manual transmission vehicle, you must have your transmission fluid checked and changed when needed to avoid costly transmission damage or replacement. Follow the vehicle manufacturer’s recommendations.

TRANSFER CASE FLUID

In four-wheel or all-wheel-drive vehicles, the transfer case is what shifts power from the transmission to the axles. You’ll need to have the transfer case fluid checked according to the vehicle manufacturer’s recommendations to make certain that it is properly filled and leak-free. This will require you to get under the vehicle, so bringing it into a professional is recommended.

INSPECT SHOCKS AND STRUTS

The shocks and struts on your car function to control the impact and rebound as your vehicle passes over bumps in the road and are an essential part of your auto’s steering system. They should be inspected by a professional every 50,000 miles or bring your car into the shop if you notice a decrease in smoothness or loss of control when driving.

COOLANT FLUID EXCHANGE

The radiator in your car is a vital component that helps keep your engine cool and functioning properly. Having your coolant system flushed regularly will help get rid of contaminants that can build up inside as well as ensure that your radiator is filled to a proper level. Check your vehicle manufacturer’s recommendation to find out how often your coolant should be exchanged,

SPARK PLUGS

The spark plugs in your engine ignite the gas and air mixture that ultimately powers your vehicle. If your spark plugs aren’t functioning properly, your engine will lose power and won’t run at optimal capacity. Have a professional check and replace any faulty spark plugs depending on vehicle mfr recommendations or when you feel a decrease in your engine’s power.

SERPENTINE BELT

Although may seem like a simple piece of rubber, your vehicle’s serpentine belt is essential to keeping your car running by powering peripheral devices such as your alternator, power steering pump, and air conditioner compressor. Visually inspect the belt to ensure that it is free of cracks or other wear and tear.  Replace id damaged or according to your vehicle manufacture’s recommendation.

FRONT AND/OR REAR DIFFERENTIAL

The differentials are devices that split the torque—or power—from the engine and allow it to send power to the tires. In front or rear-wheel drive vehicles, there is only one differential, but in 4-wheel and all-wheel drive vehicles, there is both a front and rear differential, and possibly even a center differential. Like many parts of your vehicle, the differentials need to be kept lubricated to ensure proper functionality. Have a professional check and change fluid whenever your vehicle manufacturer recommends it.

SEASONAL CHECK-UPS

The needs of your vehicle can vary by season and driving conditions. Following are a few suggestions to add to the notes section of your vehicle maintenance checklist:

REPLACE WINDSHIELD WIPERS

Windshield wipers need to be replaced about once every year, or whenever the effectiveness is compromised. In the winter months, it could also be a good idea to install winter wiper blades for optimum performance. You should also pull your wipers away from the window when parked during the winter to prevent ice buildup.

BATTERY PERFORMANCE CHECK

Your car battery is one of the most important components for your vehicle to run. A car battery supplies large amounts of electrical current for the starter, engine, and other electronic accessories in the vehicle. Extreme temperatures affect the performance of the battery so regular battery testing will ensure that battery will perform when you need it to.

CHANGE TIRES

Depending on where you live and the winter driving conditions you might encounter, you might want to switch your tires in cold, snowy months to a winter/snow tire. When the temperature hovers at or below freezing consistently, the tire compounds in non-winter tires hardens, decreasing traction and handling performance while increasing braking distance. Winter tires have tread patterns and compounds designed to remain soft in the cold and provide grip in snow, slush, and icy driving conditions.

CHECK COOLANT LEVELS

It’s also important to check your antifreeze levels in your radiator in the winter months to keep your radiator or engine components from freezing. A 50/50 mix of antifreeze to water is generally recommended, but check your owner’s manual or with a professional to be certain.

Sticking to a car maintenance schedule, and keeping good records of what you’ve done, can help extend the life of your vehicle and protect you against breakdowns, expensive repairs, and other unwelcome surprises.

Resources:www.bridgestonetire.com

CALL US

972-780-8700

OPENING HOURS

Mon - Sat: 8am - 6pm